How to Pay NBI Clearance Using GCash: Complete Guide 2026
If you applied for NBI Clearance, and now you are looking for an easy way to pay the clearance fee. GCash is one of the most convenient, fastest, and user-friendly option.
In the Philippines, GCash stands out as a trusted digital wallet that allows you to pay government fees from your mobile phone within minutes. If you are confused about how to NBI using GCash or are not sure, don’t worry. In this guide, I will show you how to pay NBI Clearance using GCash without facing errors and payment failures.
What you Need Before Paying the NBI Clearance payment GCash?
You need the following requirements to pay NBI Clearance using GCash:
- An NBI Reference Number(generated by the NBI Online system when you choose GCash as your payment method).
- An active GCash account to pay the fee.
- Sufficient balance, which is around ₱160 – ₱170.
- A stable internet connection is required to avoid payment failure.
How to pay NBI using GCash: Step-by-Step Process?
Before starting the process, keep in mind that you will only pay NBI Clearance Payment GCash if you apply online, have the NBI Clearance Requirements in hand, and choose GCash as the payment method while paying the fee. Let’s begin the actual process step by step:
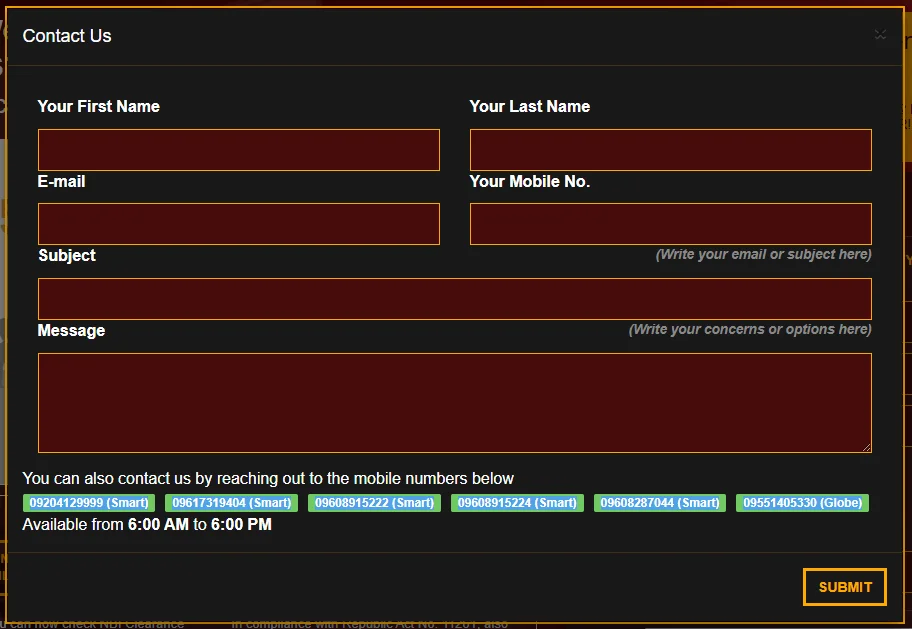
Step 1: Log in to your Online NBI Account
First, log in to your NBI Account you used to submit your clearance application.
Step 2: Copy the Reference Number
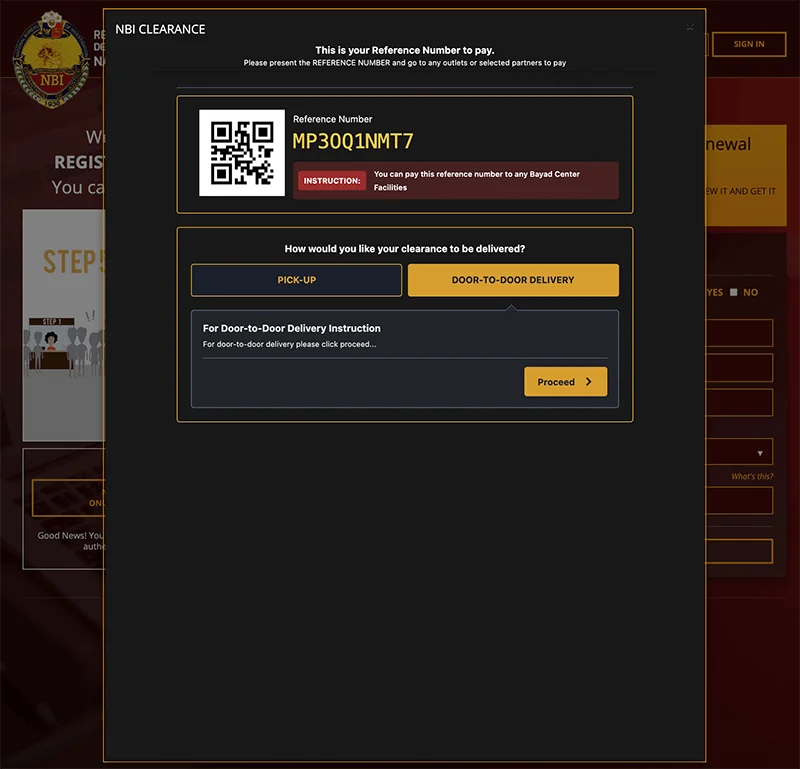
When you submit the application and reach the payment process, you will be asked to select any payment method. As you choose GCash, a Reference Number will be generated and appear on your screen.
Step 3: Log in to your GCash Account
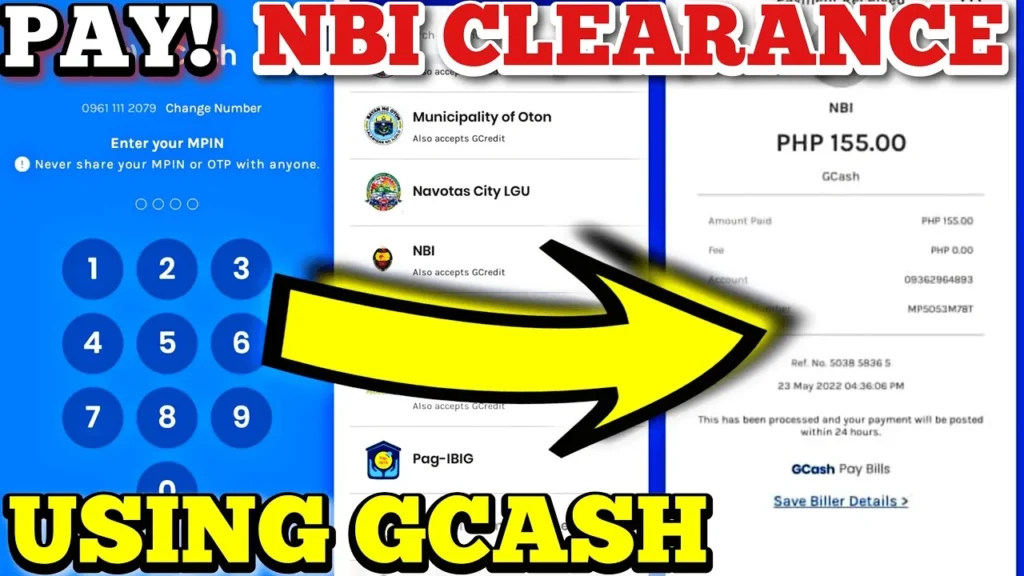
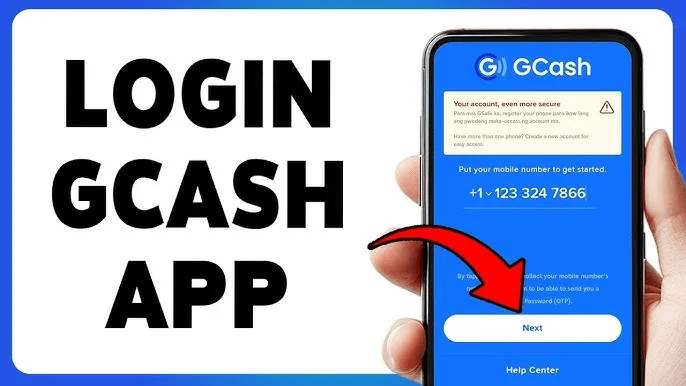
Now, log in to your GCash account by entering your 4-digit MPIN.
Step 4: Click on the “Pay Bills” option
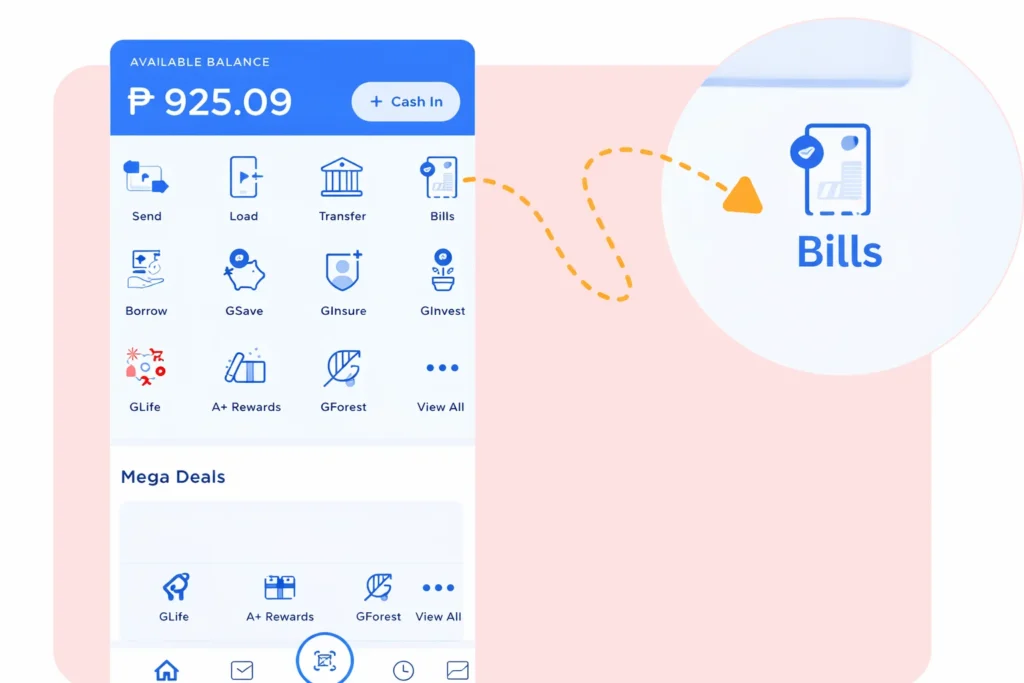
On the Gcash homescreen, you have many options. Since you are paying a bill/fee, simply click on the Pay Bills option.
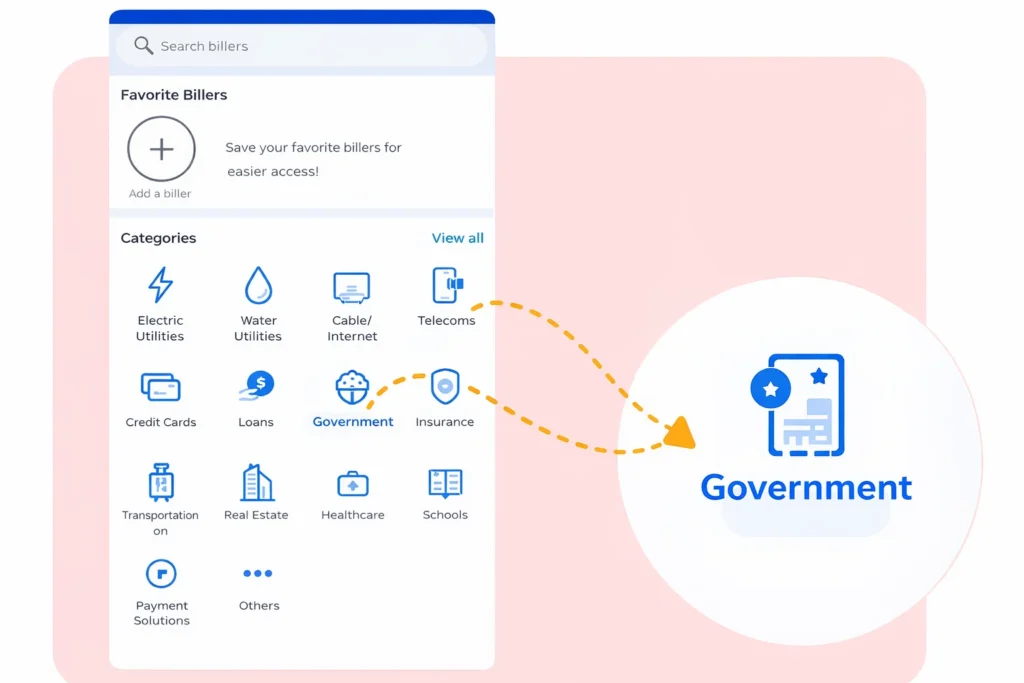
Step 5: Choose Government Option
In the pay bill section, you have many categories such as utilities bills, water bills, school bills, etc. Among all of them, click on the government. If you didn’t find it, type government in the search bar and then click.
Step 6: Look for NBI
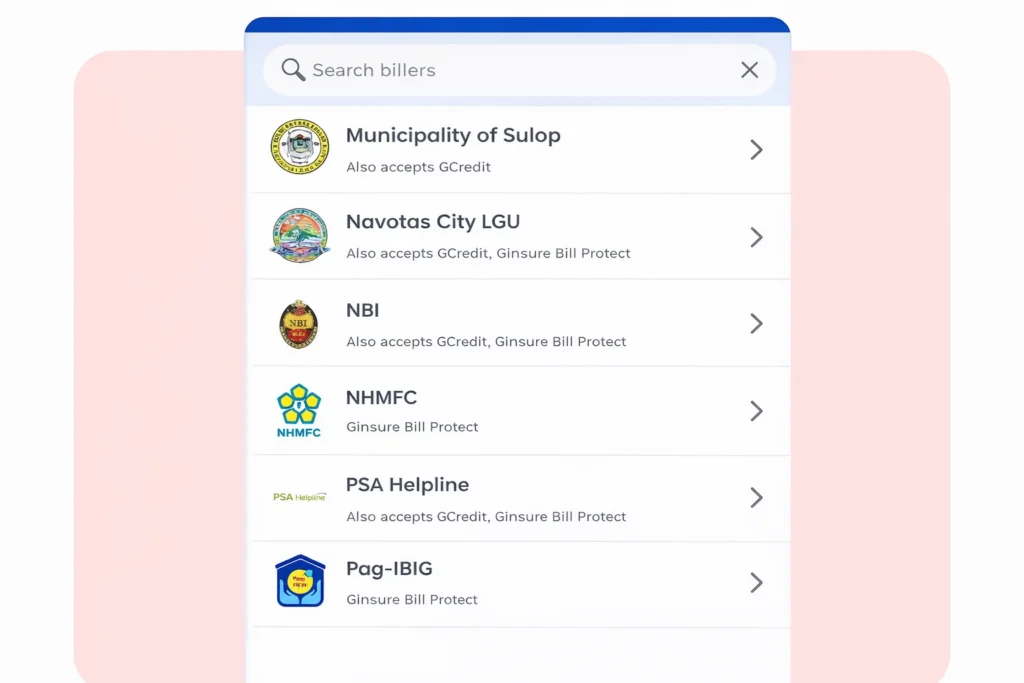
Now write NBI in the search bar and click on it.
Step 7: Enter the Required Details
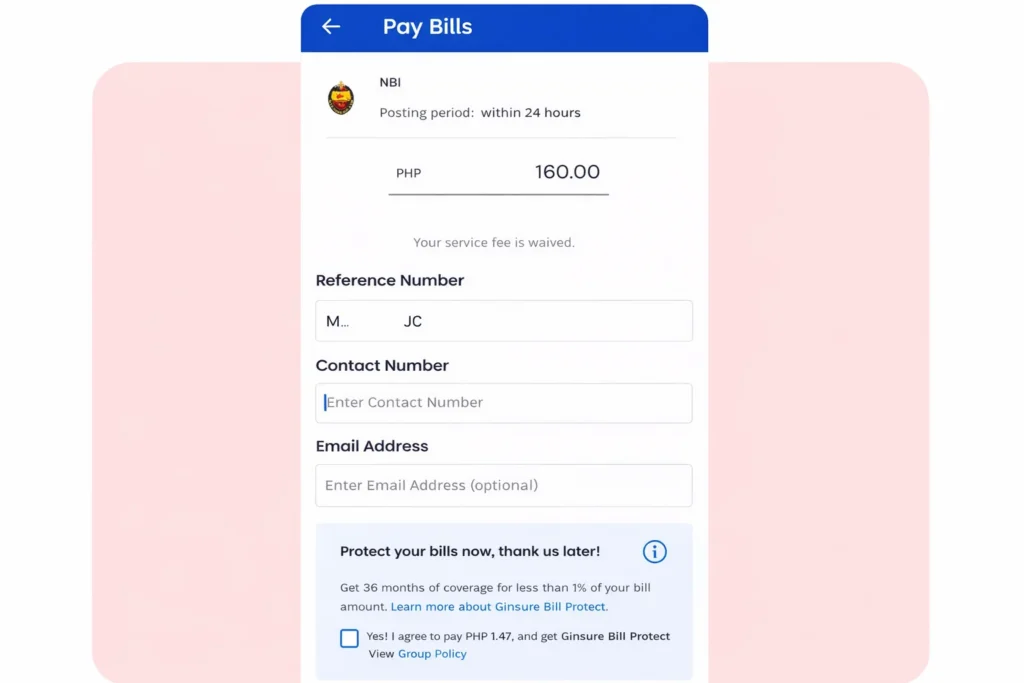
Now enter all required details such as your reference number (from the NBI application form), active mobile number, amount (check your total from the NBI account), and email address.
Step 8: Verify your Details
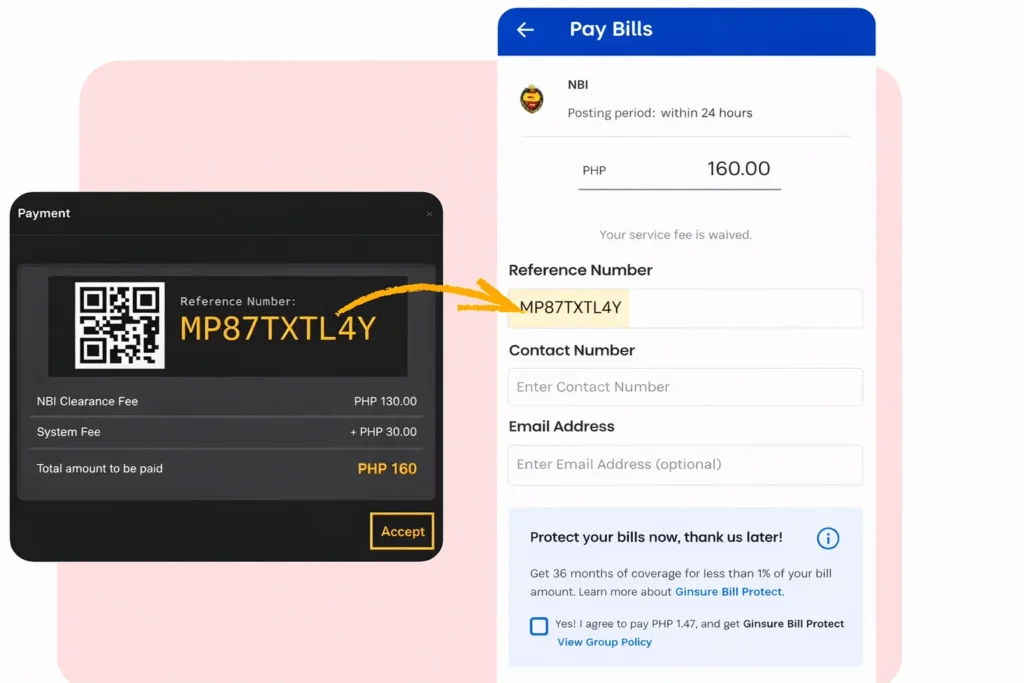
Verifying your details is free of cost. Always carefully double-check your reference number, mobile number, amount, and email address.
Step 9: Pay NBI Clearance through GCash
When you verify your details, click on the pay or confirm payment to release the payment.
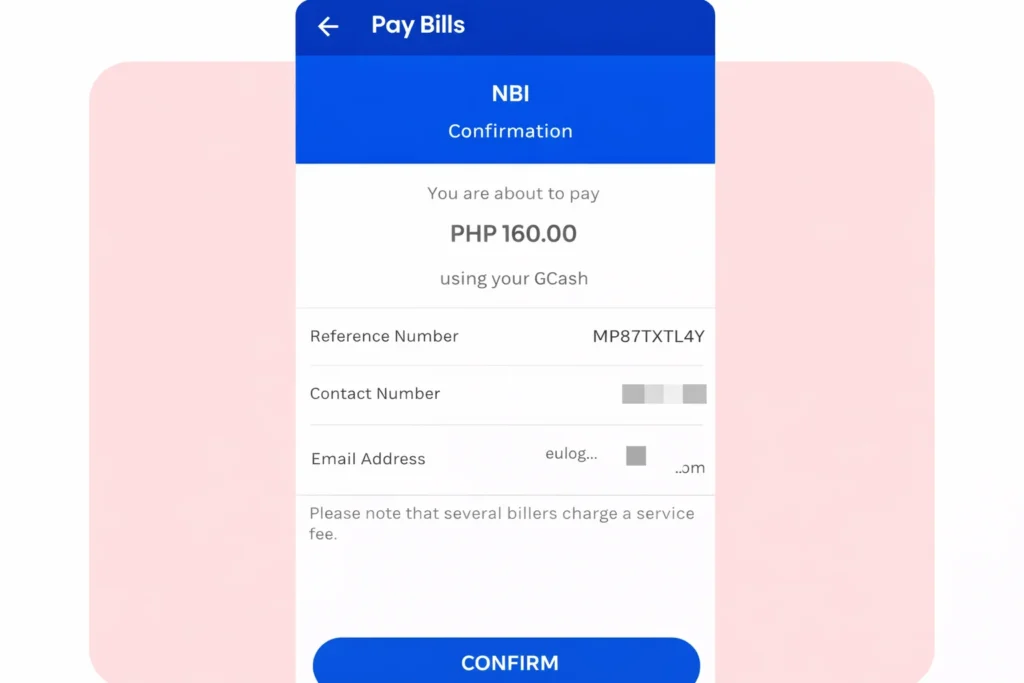
Step 10: Payment Confirmation
A text message will be sent to your given mobile number. It serves as your payment receipt, so save it as proof or a record.
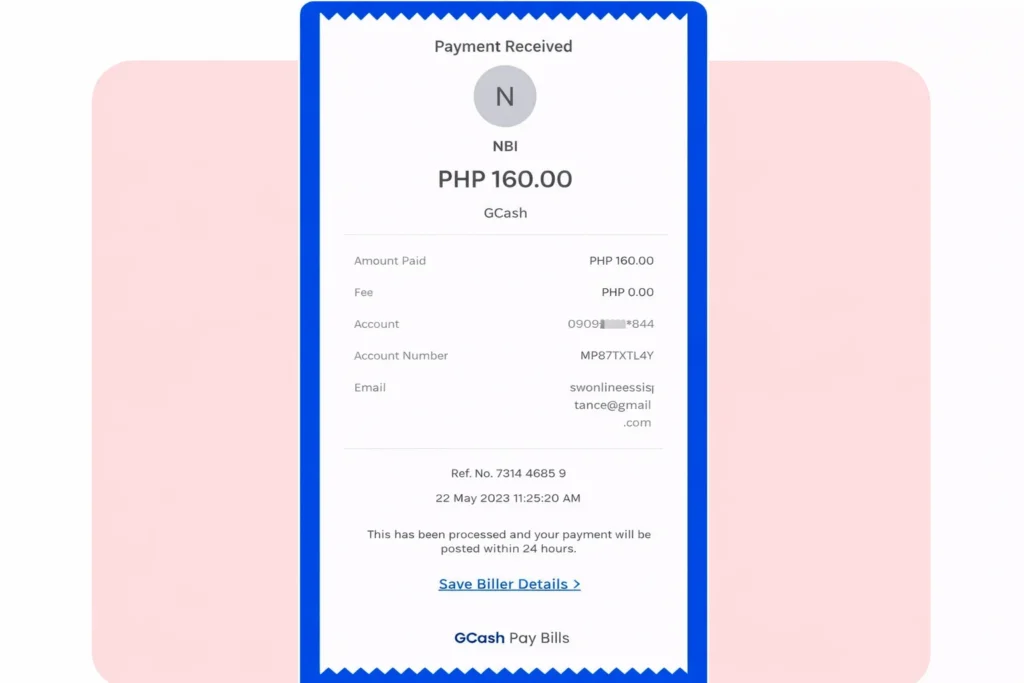
Other ways to pay the NBI Clearance payment GCash
There are 2 more methods to pay NBI Clearance using GCash. Below is a step-by-step guide on them.
Pay Fee Via QR Code at the Branch
If you are at the NBI Office or payment center, you can also pay your fee through GCash. Here’s how:
Pay Fee through Website
If you want to pay the fee directly on the website, you need to have another mobile with the GCash app. If you have, then follow this process:
How to verify whether your GCash payment for NBI Clearance is successful or not?
After paying the fee, the next step is to verify whether your payment has been successfully processed. I am sharing some simple ways to verify your payment.
1st: Check your NBI Account
Simply log in to your NBI account, go to the transaction section, and see your payment information. If the status shows paid, that means your payment has been successfully processed.
2nd: Confirmation Message
When you pay NBI Clearance using GCash online, it sends you a confirmation message to the provided or used mobile number. If you receive a payment confirmation text message from GCash, that means your fee is paid.
3rd: Check your Gmail
Always check your used Gmail. Sometimes the payment provider sends a confirmation email to your Gmail.
Important Note: Suppose your status didn’t show as paid or pending. Wait for a while, refresh your tab, clear your Chrome data cookies, and check again. If you still face issues, and even if you didn’t receive an sms or an email. Wait for a while or contact the GCash support.
What to do after Pay NBI Clearance using GCash?
Once you have successfully paid your NBI Clearance payment GCash, there are a few essential steps you should follow to avoid any issues in the future. These steps ensure your payment is successfully recorded.
Save the Payment Screenshot or Reference Number
Take a screenshot of the GCash confirmation or save the reference number as proof of payment because it is needed for verification on the appointment day.
Wait for the Payment posting
Most payments are posted within a few minutes, but in some cases, it may take a few hours for the status to update in the NBI system.
Proceed to your NBI Appointment as Scheduled
Once the payment is confirmed, visit your selected NBI branch on your appointment date with the required documents.
How to pay NBI Clearance using GCash: Tips & Tricks
Tips and tricks make your work easy and less stressful. Here are some of the simple yet effective tips. By following them, you can avoid future issues.
Save your Confirmation Message
As you know, after paying NBI Clearance through GCash, it will send a confirmation message to your given/used mobile number. Do not delete or ignore this message. You will need it during your appointment.
Payment not showing as Paid
Online Transactions take some time to reflect the status. In the NBI case, payment updates are made within minutes. Suppose your payment status does not update instantly. Be patient, refresh the page, delete Chrome data, log in again, check again, and wait up to 24 hours. It still shows an unpaid contact with GCash support.
Carefully Enter your Reference Number
The Reference Number is the main element of paying the fee. If you entered the wrong reference number, maybe you lost your amount. Always enter the reference number carefully and double-check before submitting it.
Ensure Sufficient Balance
Before making a transaction, make sure your GCash wallet has enough to pay. NBI Clearance fee is around ₱130, system fee is around ₱25, GCash convenience fee is usually ₱5 – ₱15, and the Subtotal is ₱155.
Why use GCash payment for NBI Clearance?
GCash is a popular, safe, fast, and convenient wallet to pay your NBI Clearance or NBI Clearance Renewal Fee. Anyone who wants a safe and simple payment while sitting at home must use GCash. Here are the key benefits of it:
Fast and simple to use.
Available 24/7.
Accessible on your mobile phone.
No need to go to a bank or payment center.
Instantly provide a digital receipt.
Alternatives to GCash
If you didn’t like the GCash for any reason, you can use any of the following to pay your NBI Fee:
- Maya.
- Visa/Mastercard (via online portal).
- 7-Eleven (CLiQQ).
- Bayad Center.
- BPI Online.
- LandBank.
- Security Bank.
- ECPay.
FAQs
Final Words
GCash is one of the safest, easiest, and simplest ways to pay your NBI Fee. Just log in to your GCash account, select pay bills, Government, NBI, enter the reference number, email, mobile number, amount, pay the bill, and boom, your fee is paid. We already talked about how to pay NBI using GCash, common issues while paying online, and gave some useful tips. If you still face issues, you can contact Official GCash and NBI Support.